Follow these steps:
Design/sew quilt > start new > pantograph > enter rectangle manually.
For this example I entered 75 x 90. If you want to save this quilt to use as a master, make it as big as necessary.
Continue > finished.
Select the geometric catalog and choose arc-2 for your panto.
This is what it will look like.
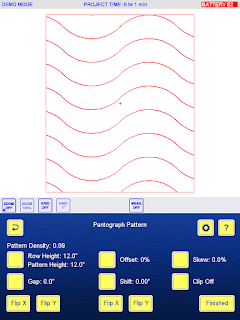
NOTE: if yours doesn't look like this, you need to change one of the settings, so touch the gear button (local configuration) up there by the help button, and the first preference listed is Line Up Start/End Points. If it says disabled, touch the button beside those words, then touch the plus or minus sign.
Your panto should now look like mine.
Whilst you're at the configurations, look at the choice for progressive offset. If it says disabled, touch the words and then the plus sign to change it to enabled. Finished.
Change the row height to 1".
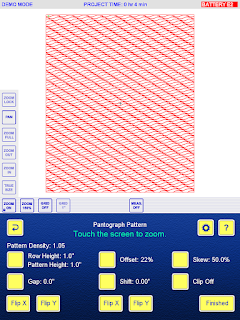
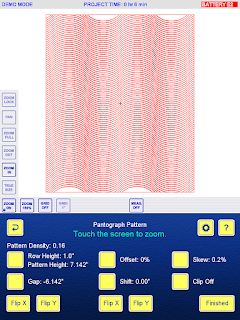
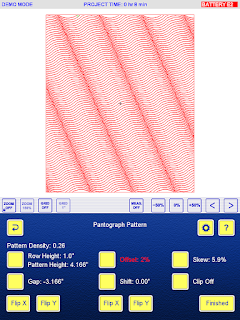
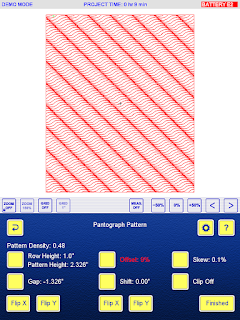
Now play around with the gap setting, the offset setting and the skew setting to see what you get. Here are some of the patterns I got. Look at my settings to replicate them on your tablet. (Click on the image to increase its size) Save the one you like the best as a quilt. Start again from the beginning to create some variations if you wish. By the way, you'll notice I always offset the pattern to the right, but ofcourse it can be offset to the left if you prefer.


No comments:
Post a Comment